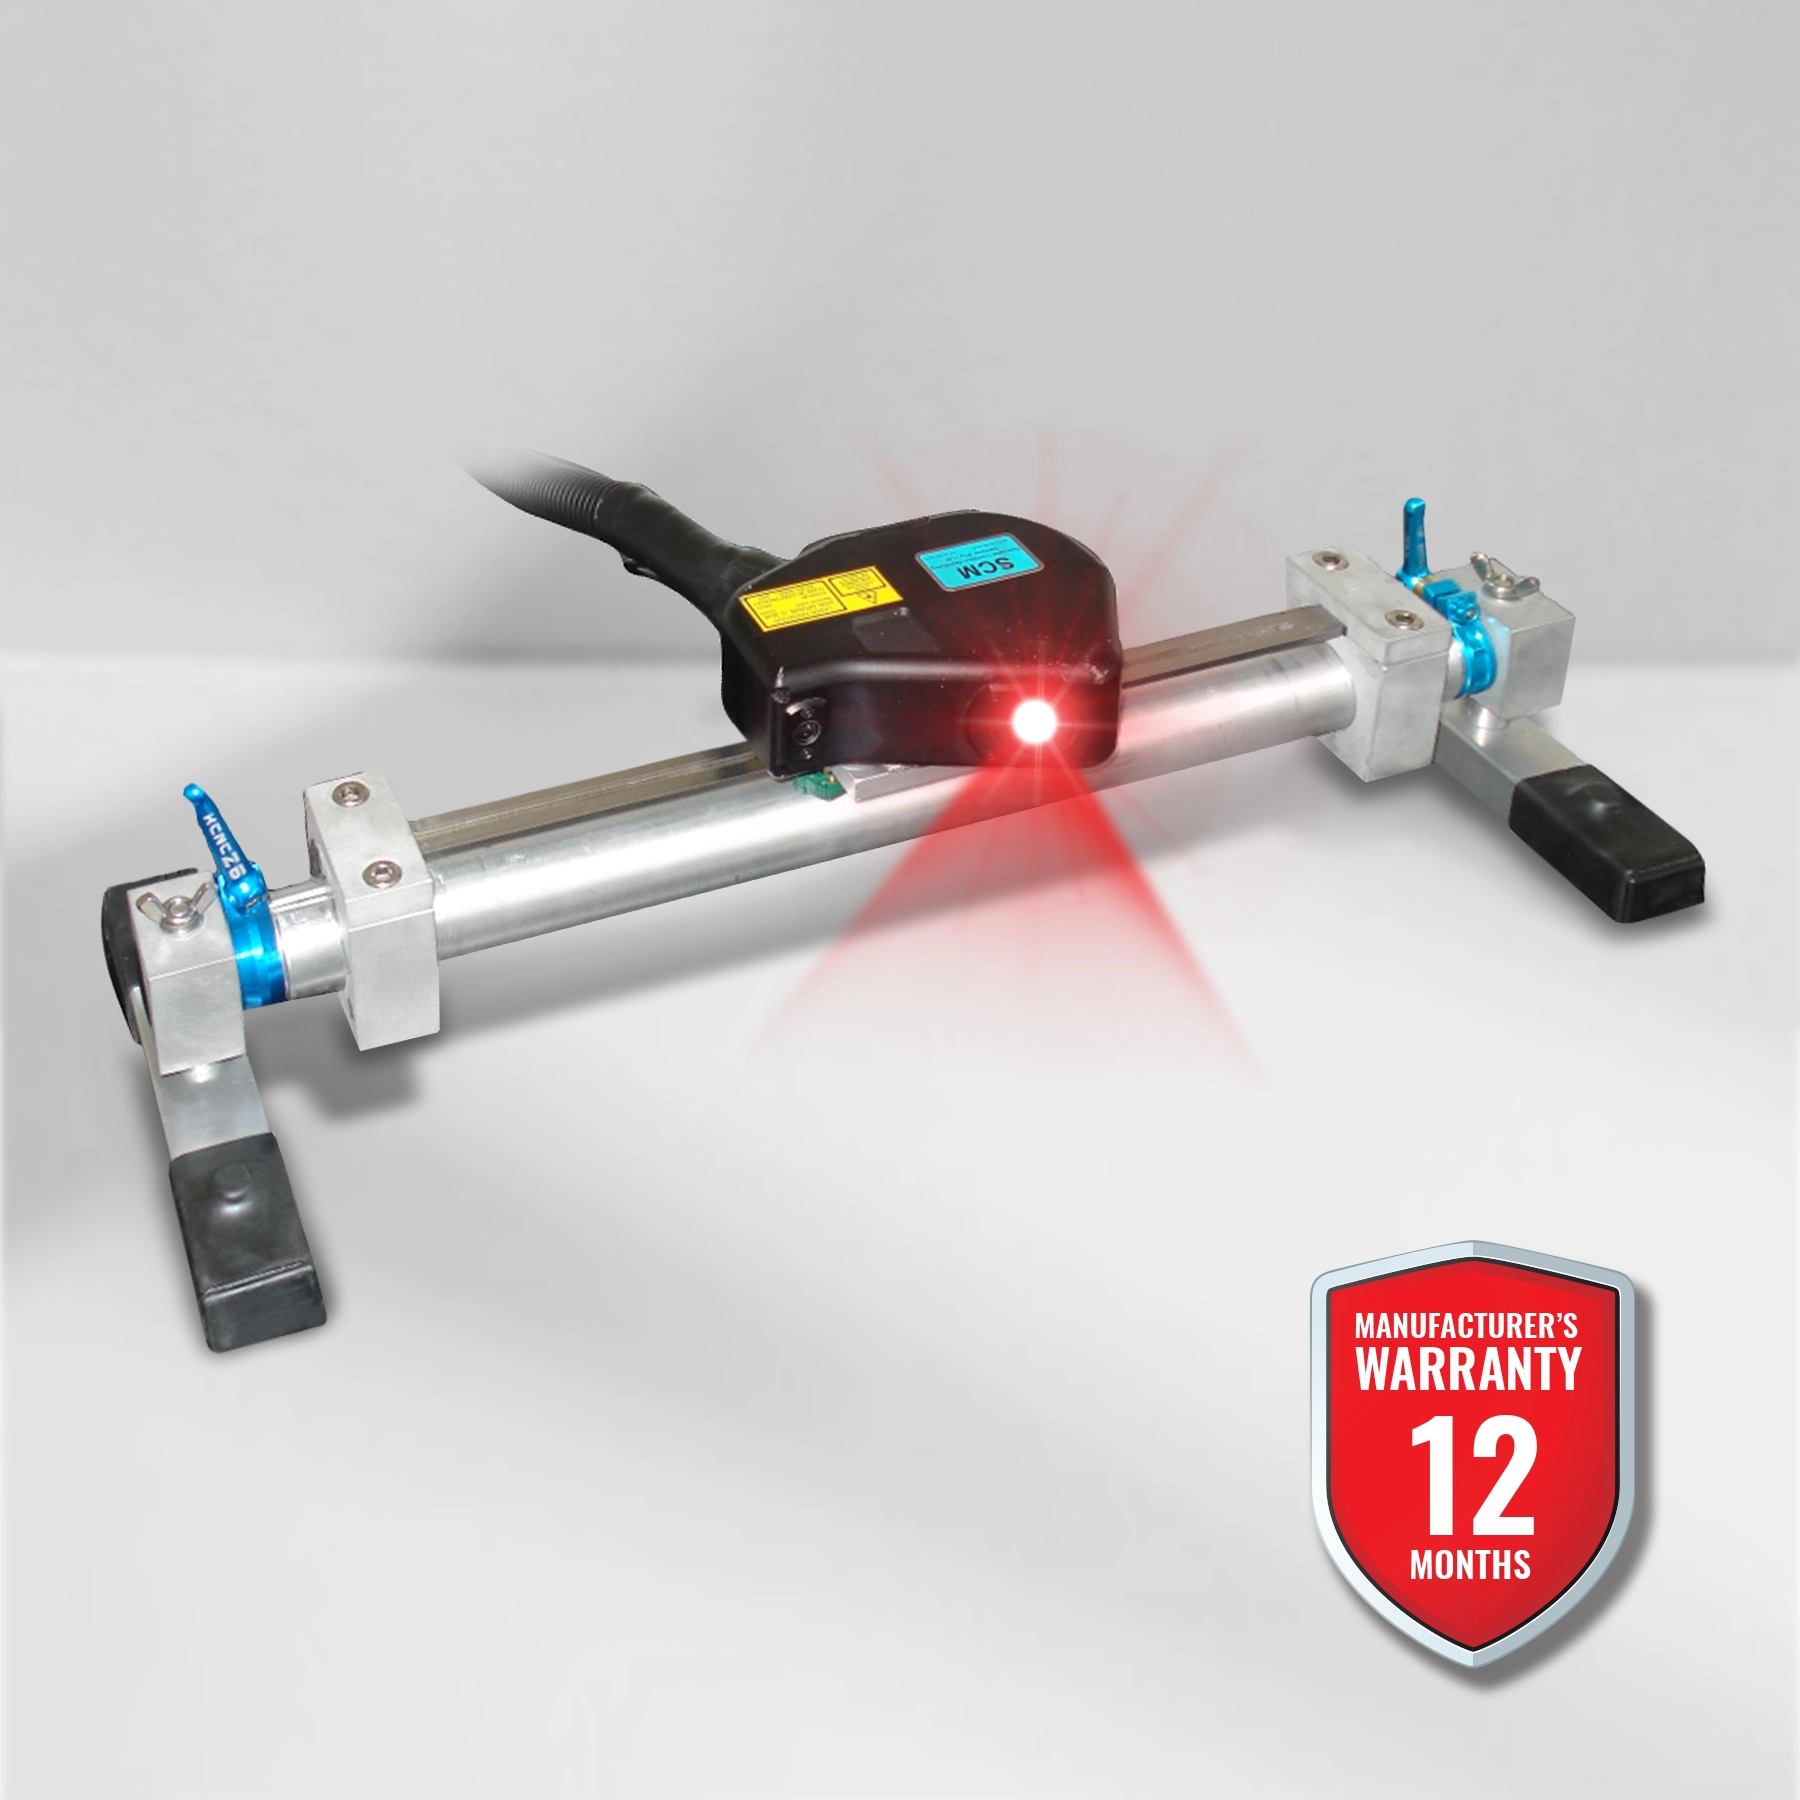
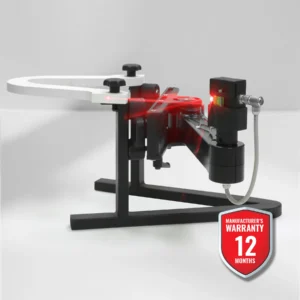
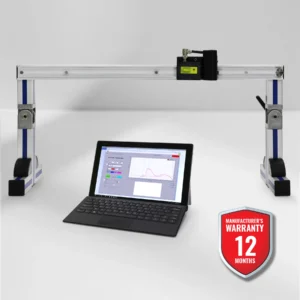
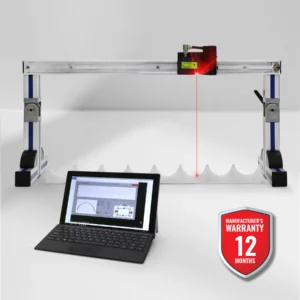
SCANBUDDY® 3D Gear Profiler
Price: Available on Request
Get a custom quote for this product
SCANBUDDY® 3D Gear Profiler
For all industrial systems that include the use of heavy-duty gears as part of the process, the eventual wear of the gears is an inevitable outcome. Due to the high cost of purchasing and installing such gears, the life cycle of the gears must be factored into the operating cost of the machine.
If the utilisation of the gear were to be optimised, the gear would need to be used for as long as it is safe to do so, and the replacement interval would need to be synchronised with the maintenance schedule of the entire machine to avoid unnecessary losses in production.
It should be noted that the replacement intervals on different gears vary significantly (even on similar machines) due to different operating conditions (e.g., lubrication used, loading, alignment and several other uncertain factors). It can thus not be estimated solely based on the intended conditions of operation. The approach to solving this problem relies on periodical inspection of the state of the gears.
Traditionally the internal condition of a gear would be inspected with Non-Destructive Testing techniques (Eddy Current and Magnetic Particle Inspection) while the wear rates are estimated with one of two methods: The first involves tracing with complicated mechanical copying devices.
This method takes long and is inherently subject to grave inaccuracies based on the fundamental operation principle. The second method involves taking a plaster cast of a single tooth and comparing it visually with successive casts. This process is laborious at best and, due to its analogue nature does not readily lend itself to quantification, let alone trending and prediction.
Brochure
PRODUCT SUPPORT
This product comes with a 1-Year Limited Warranty on manufacturing faults and workmanship. Scanbuddy supports all products – with all repairs and calibrations currently being done in New Zealand and South Africa.
